

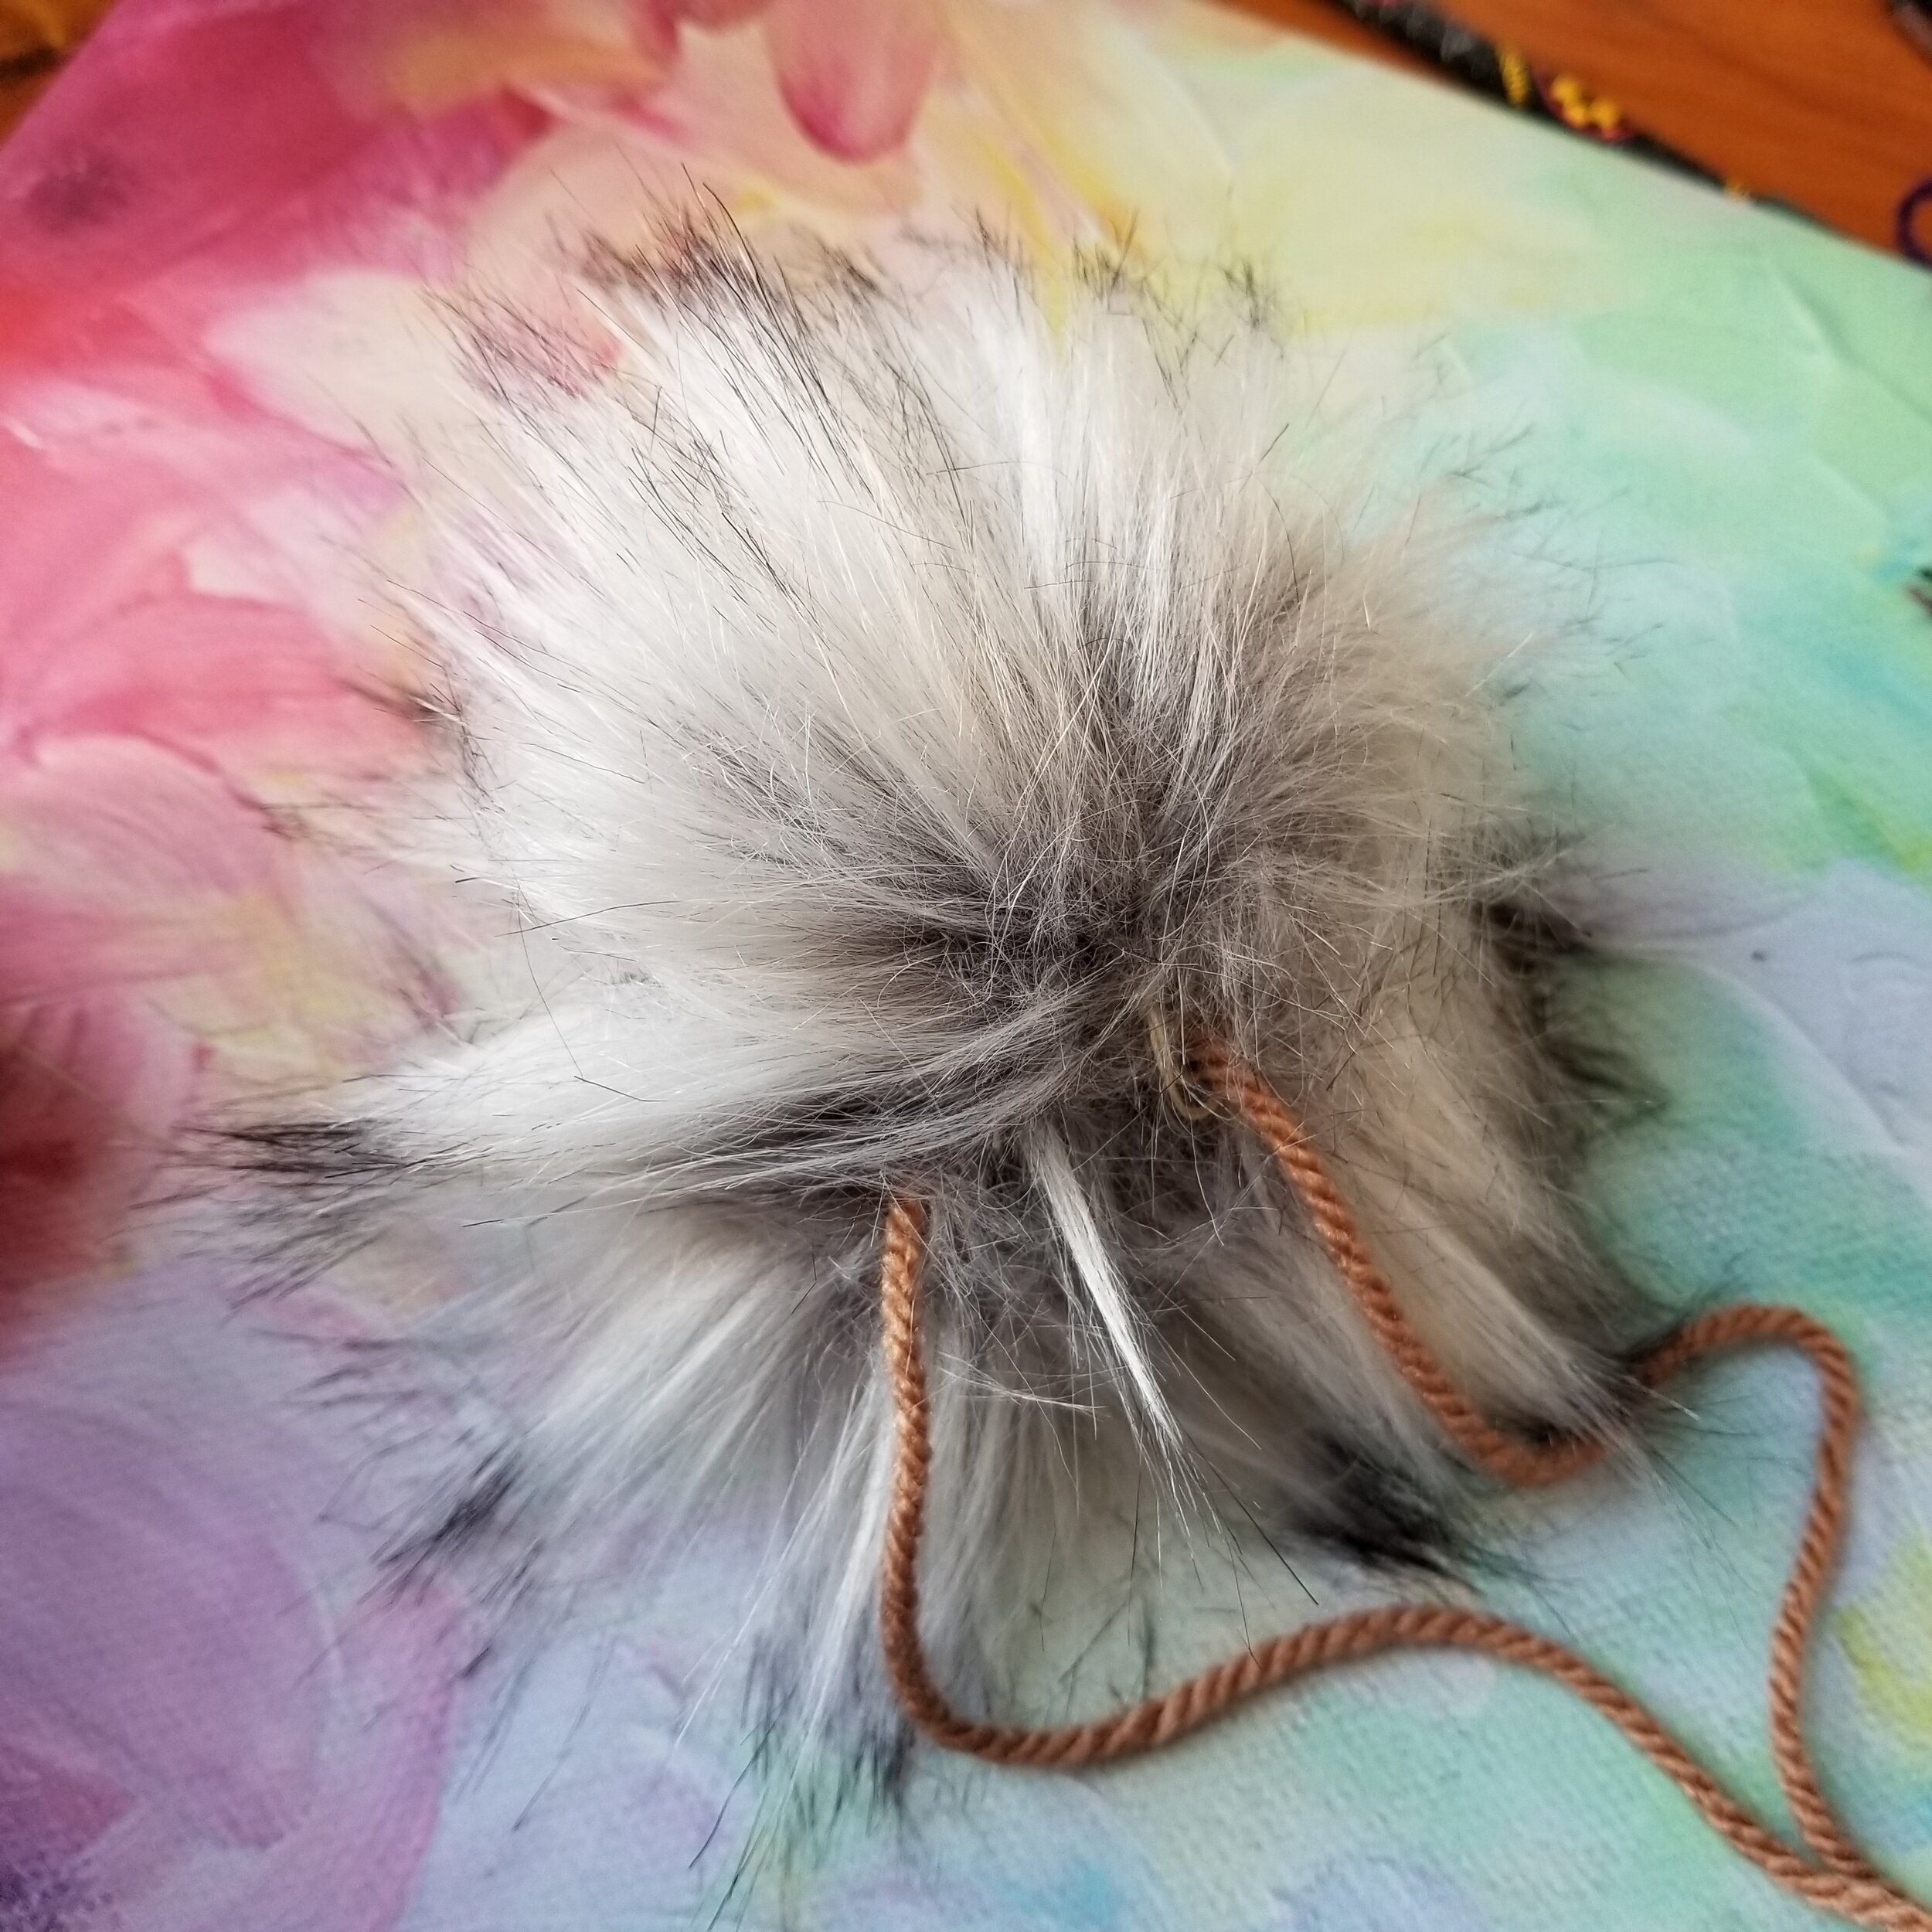
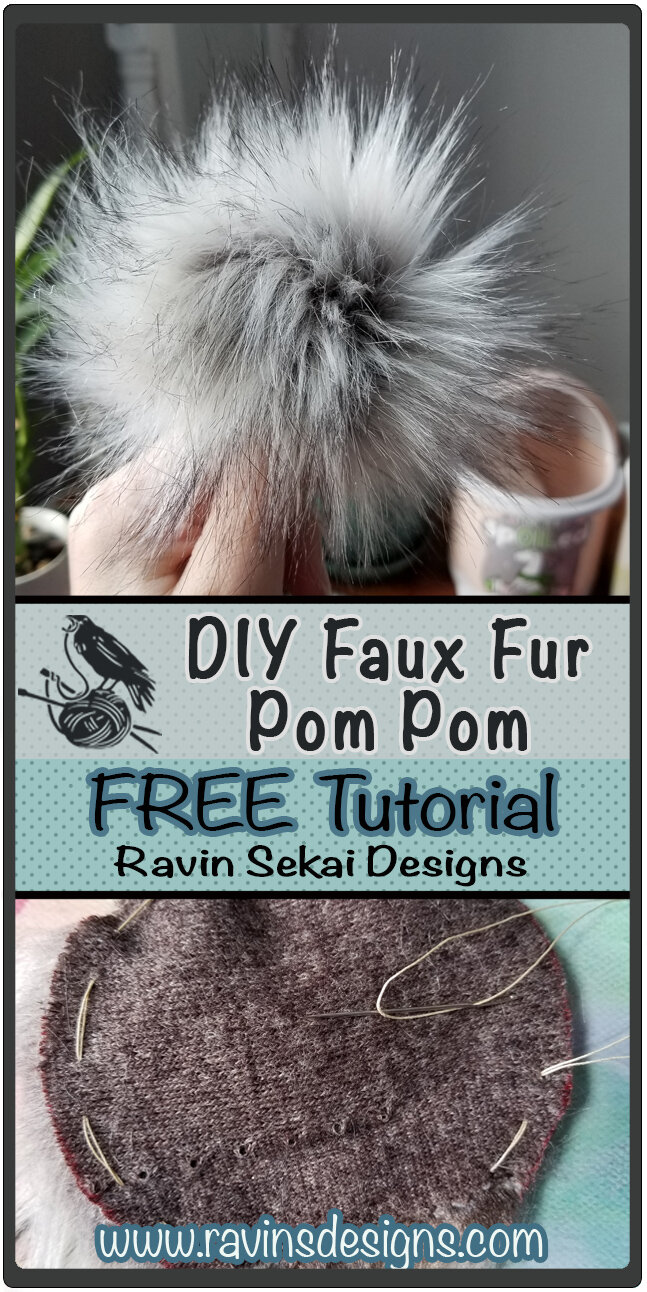
How To Make Faux Fur Pom Pom
DIY Faux Fur Pom Pom
So, for about a yr and a half now, I've been purchasing my false fur pom poms from amazon. And, believe me, that can start getting kind of expensive and y'all're really merely a slave to the colors and sizes that are available there. Whenever you're looking for something a fiddling more unique or something bigger or smaller than the standard sizes, you either accept to become searching for somewhere that stocks specialty bobbles (pretty much etsy) OR you accept to pay near a GAZILLION dollars for something in either a LYS or online. And then not cool.
So, I got to thinking, making my own bobbles tin't possibly be that hard… and I was Right! They are so ridiculously easy! If you tin can knit or crochet, you can make your ain bobbles. Hither's how!!
I love to see what yous create!
Please share your creations with the customs by tagging @ravinsekaidesigns and hashtag #diyfurpompom
I tin can't expect to see the beautiful things yous come upwards with!
Follow me on social media
Facebook: Ravin Sekai Designs
Ravelry: RavinSekai
Instagram: @ravinsekaidesigns
Pinterest: Ravin Sekai Designs
Patreon: Ravin Sekai Designs
What You Need:
Scissors
Needle and Thread
Faux Fur
Something Circular to trace
Sharpie/a marker
Fiber Fill or waste yarn
A push
How to Pom Pom:
Footstep 1:
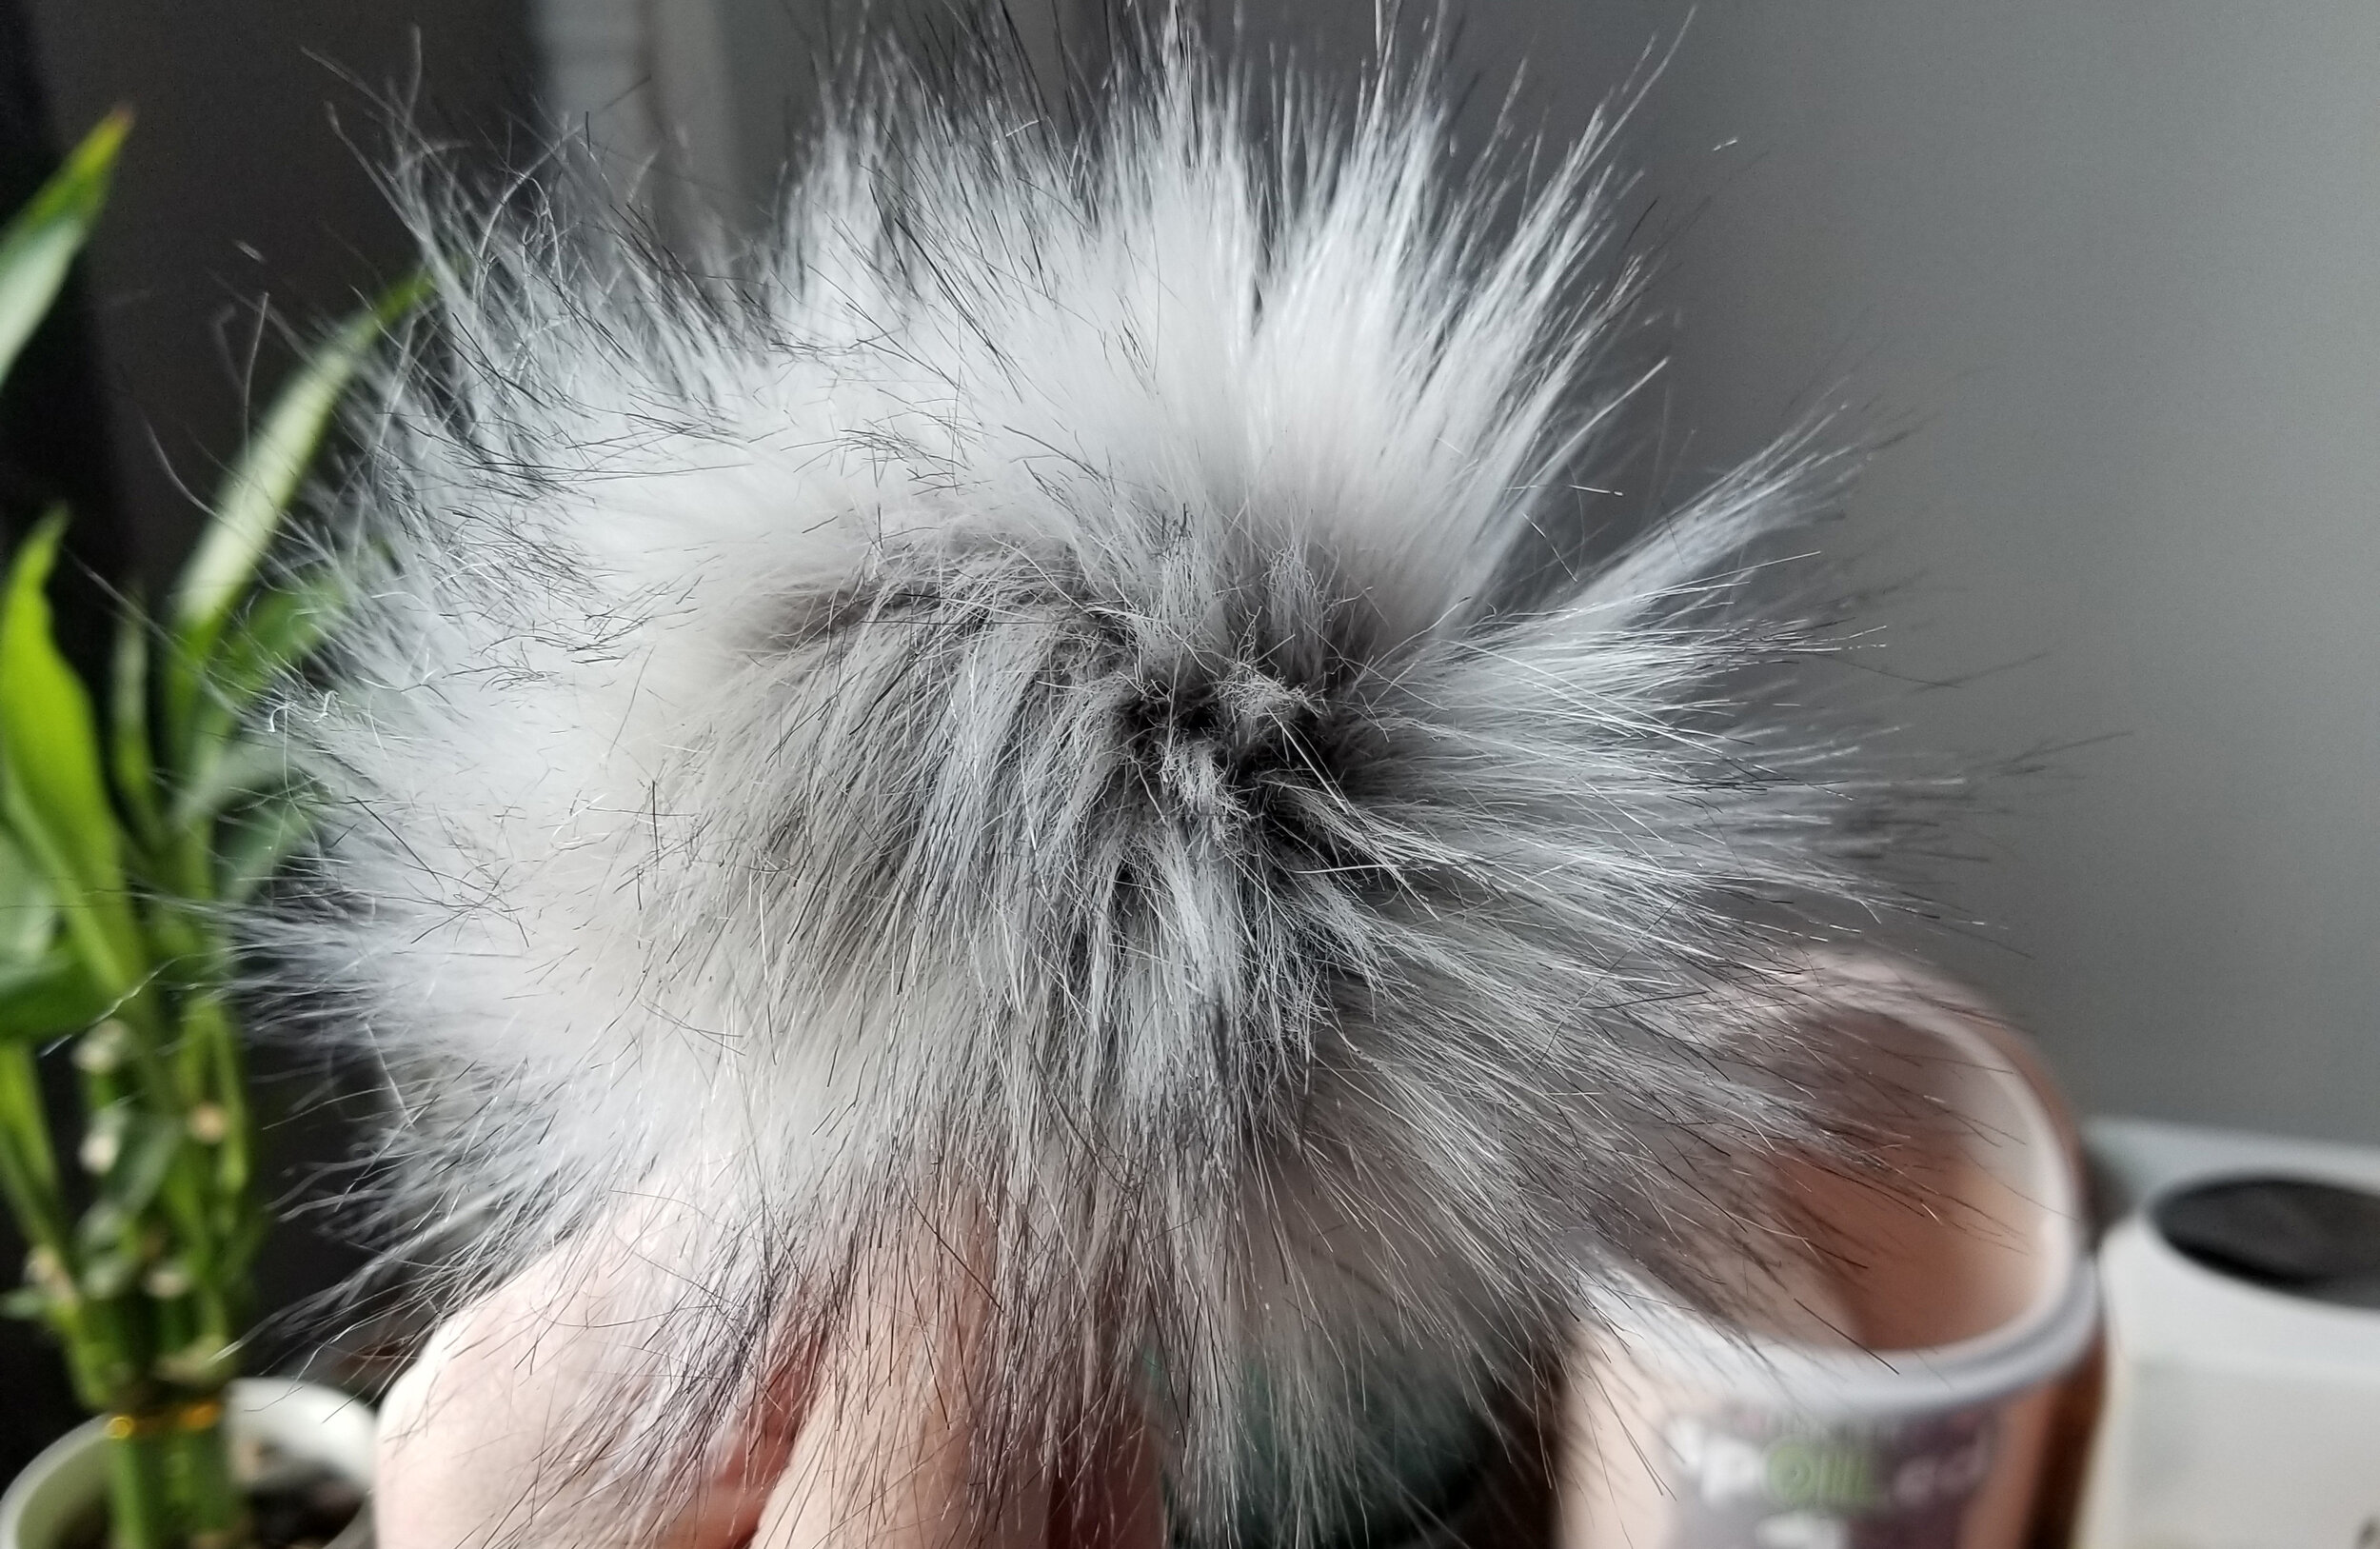
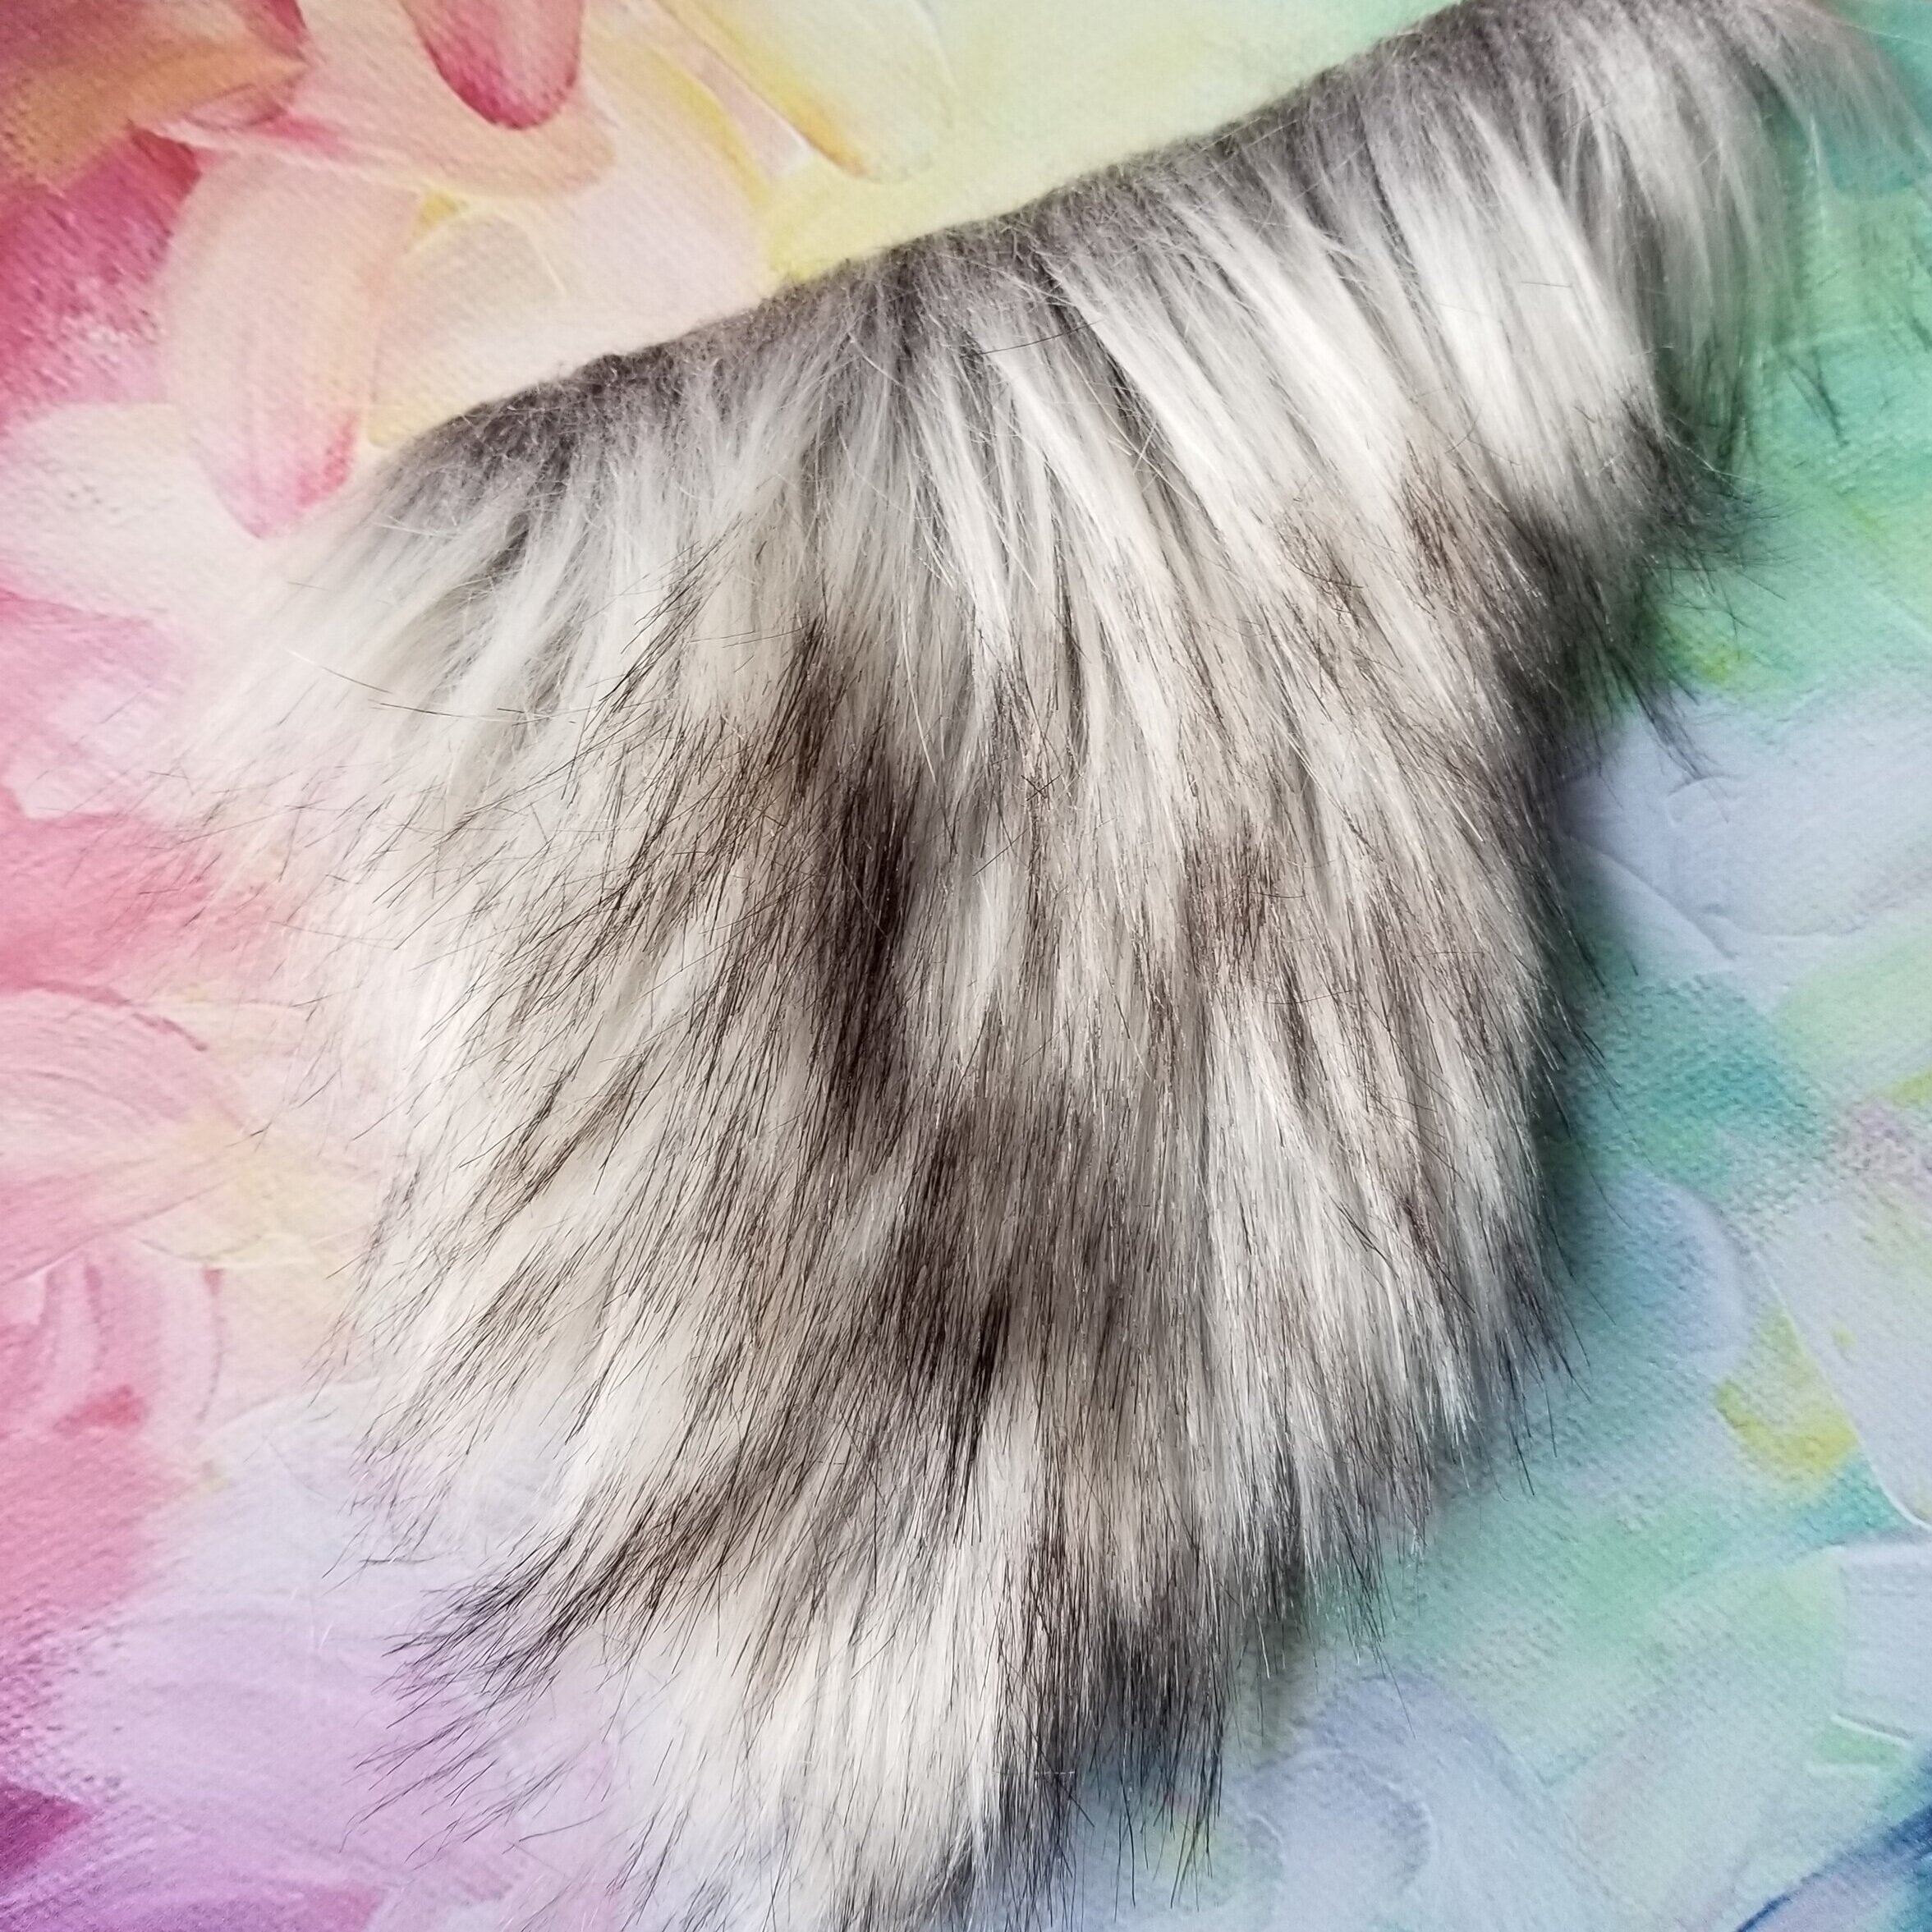
Become the imitation fur you plan to employ for your bobble. Long pile (long pilus) brand the best pom poms imo. What I'm using for the tutorial is actually remnants from fur I used for my Halloween costume last twelvemonth. Only, you can get false fur from a lot of different places. For example, the remnants bins in Joann Textile usually have some squeamish chucks of fur in them. Also, in a lot of craft stores, they have pocket-sized portions of faux fur for crafting like this.


Pace 2:
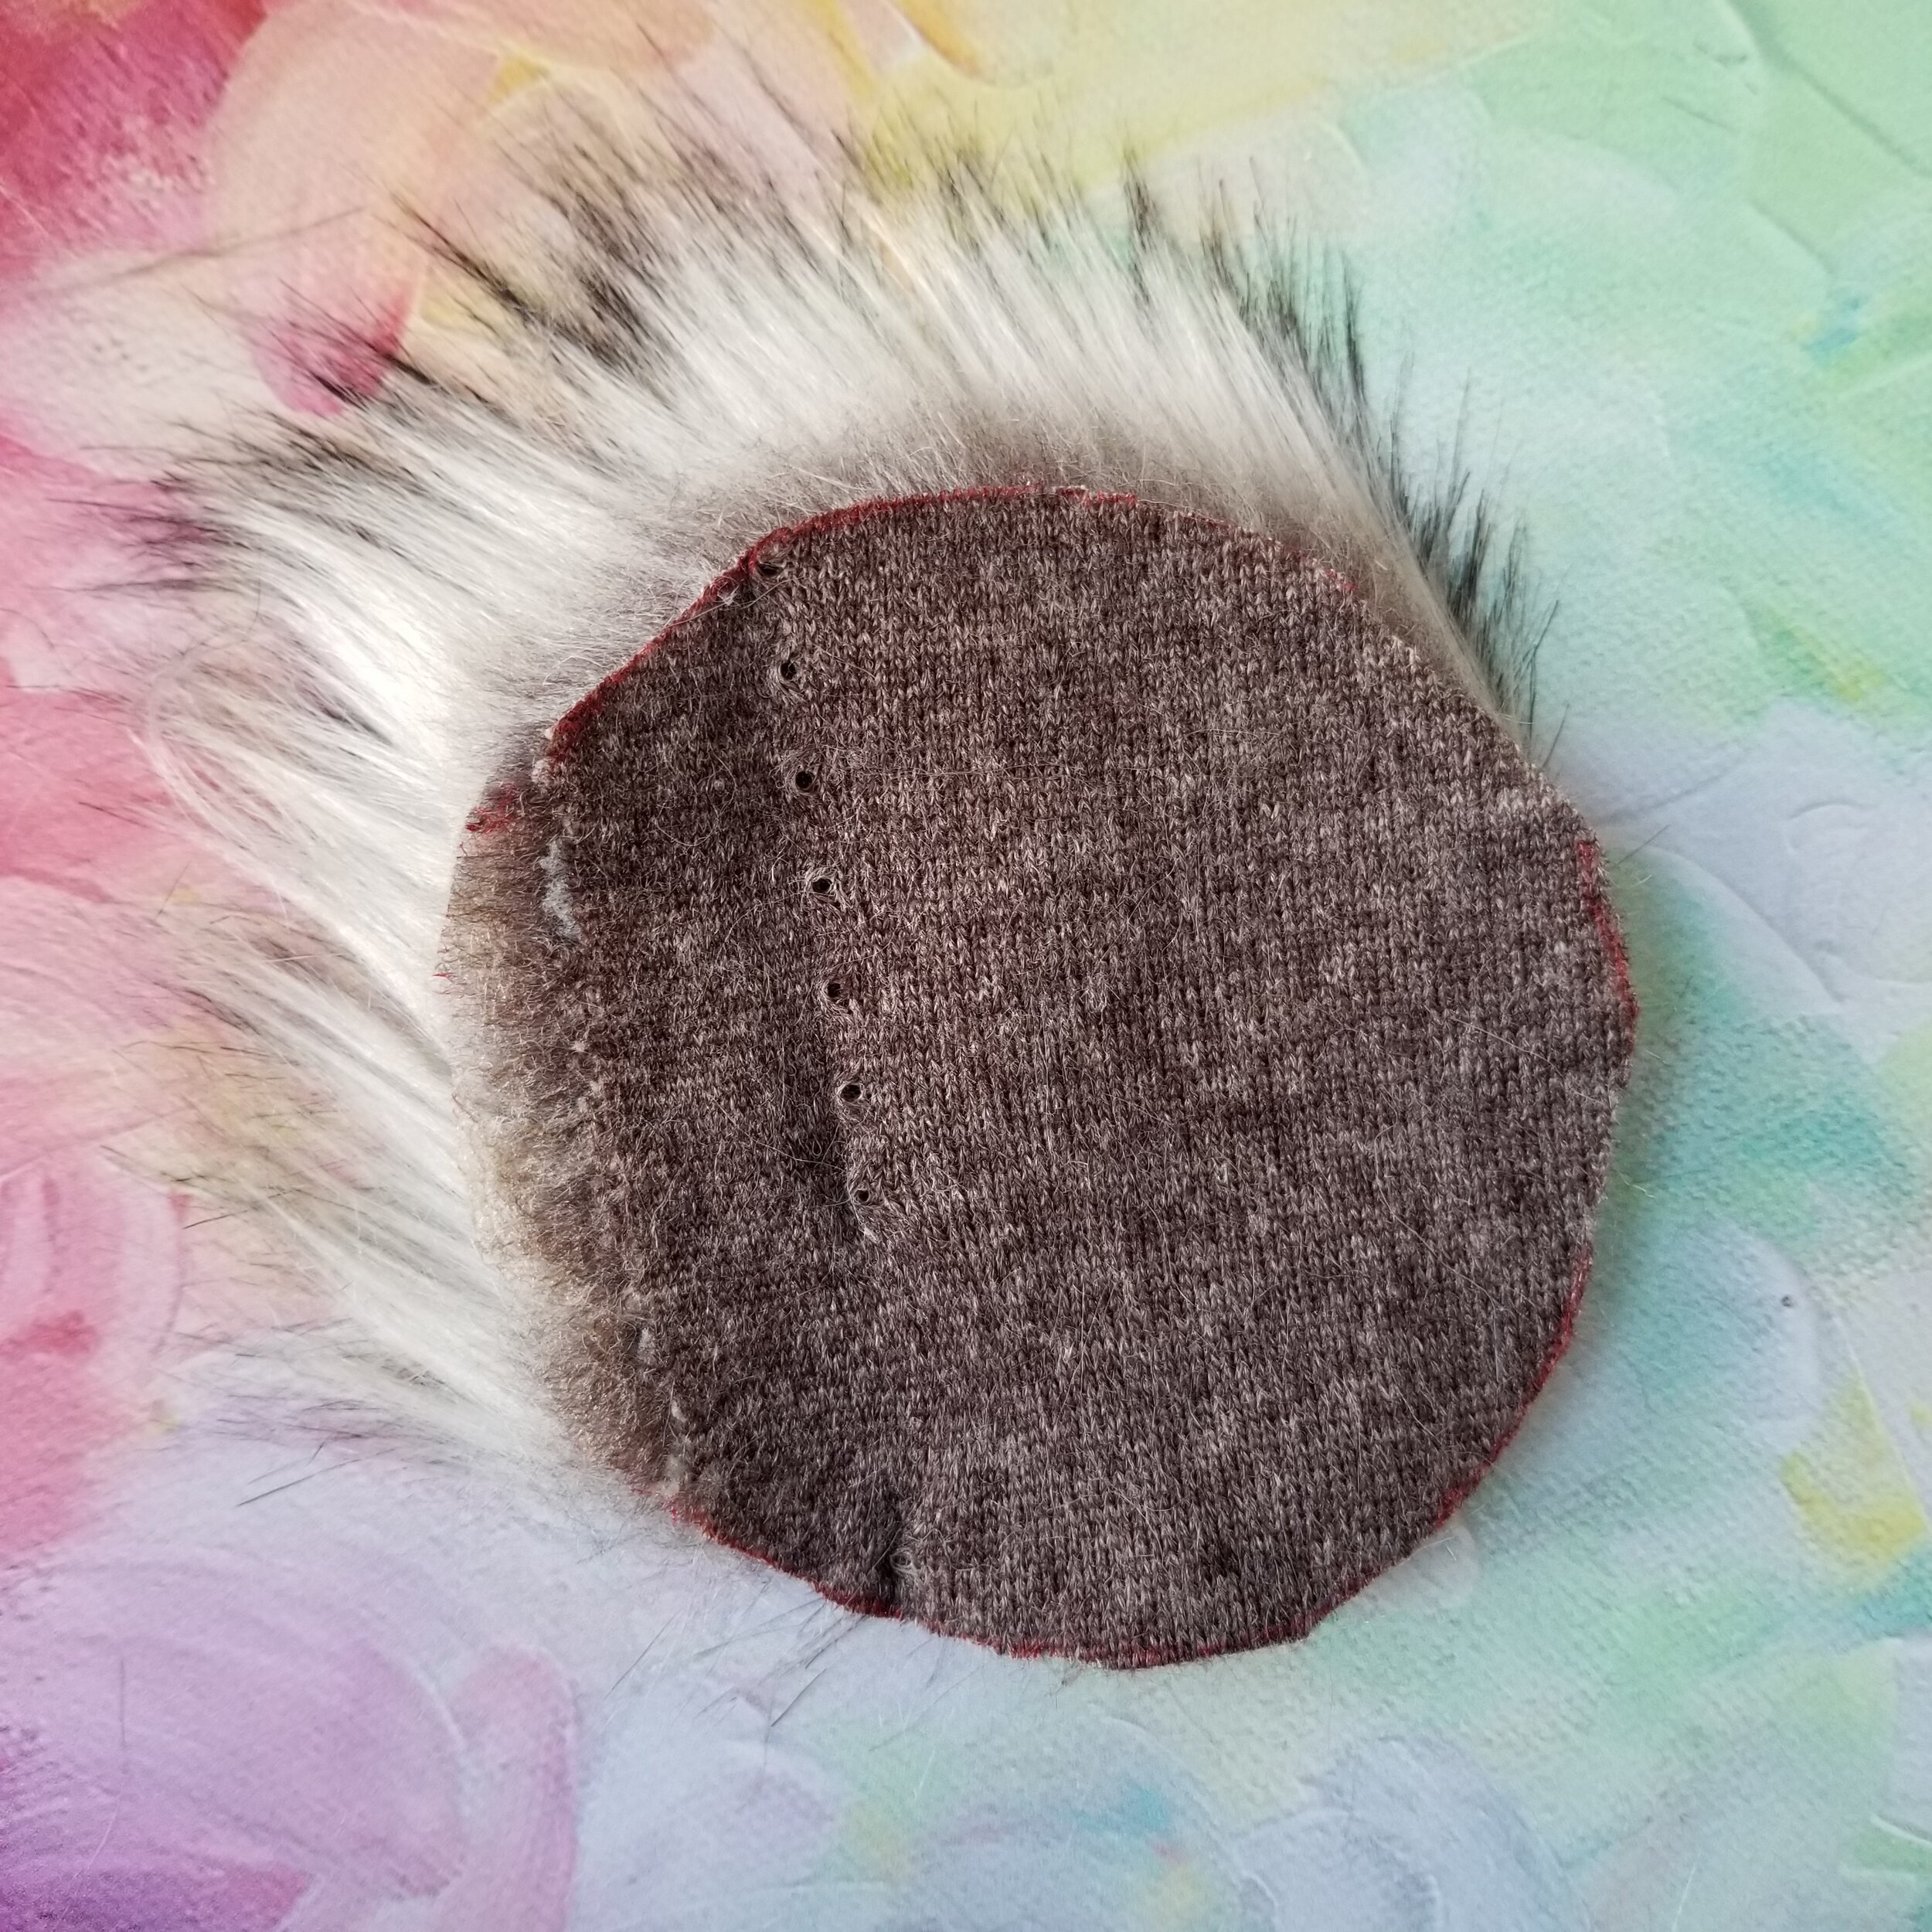
Take your 'something round' and with a sharpie or marker, trace around it onto the back of the imitation fur. I used the lid from a candle (bought from a certain soap and lotion shop that starts with a B that is known for such things) considering they are the perfect size for bobbles! My 'something round' is 4" in diameter.
Pace 3:
Cut along the circle. Make certain that yous are simply cutting the textile under the fir and not the fur. Brushing the fur abroad from where yous are cutting and only snipping the material is the best course of action.

Step 4:
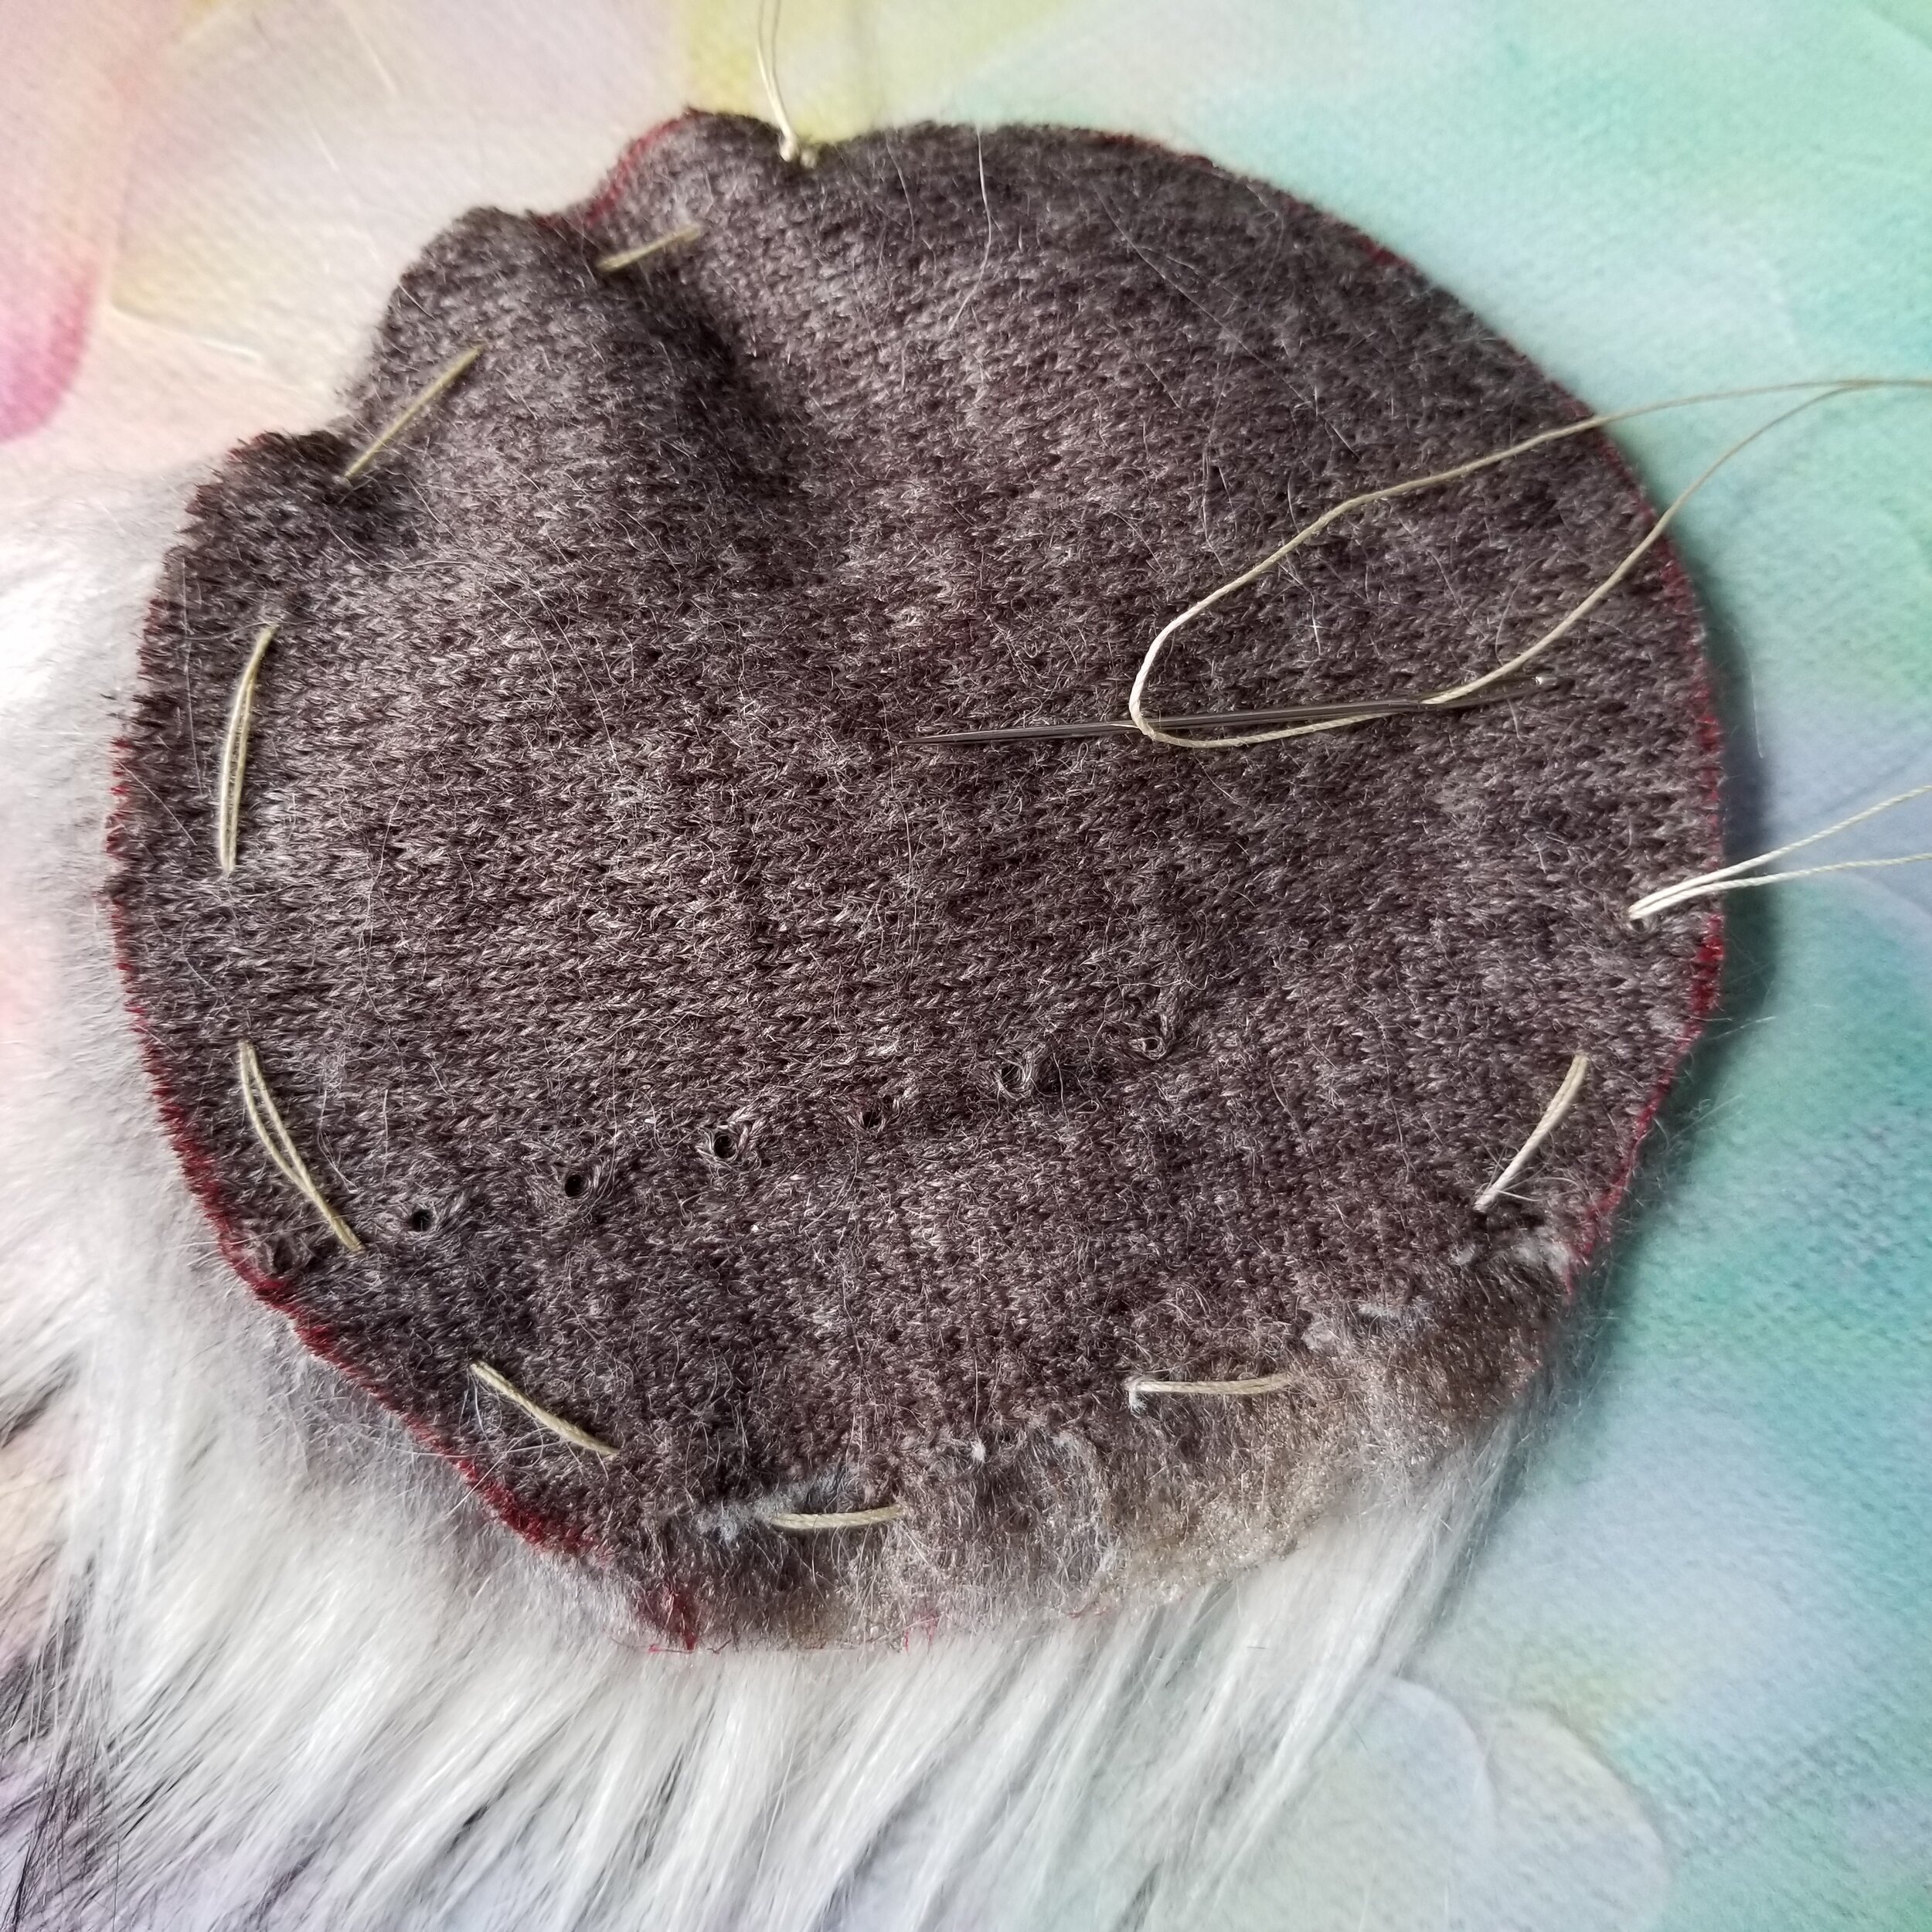
With a needle and sturdy thread (I used rug thread from the WWII era that I inherited from my Peachy Gran :D) Sew about three/iv around the outside of the circle with about one-half an inch between each sew together.
Step v:
Cinch circumvolve and then that there is just a small gap and and then stuff the pom pom with either fiber make full or scrap yarn. I use scrap yarn when I stuff my bobbles because I have tons of information technology on hand and it works just every bit well as fiber make full (and it'due south free!)


Stride 6:
Sew the balance of the style around the pom pom, pull closed. Then sew together back through, back and along, to make sure the pom pom is closed securely.
Bonus:
One of my subscribers said she uses a button on the inside of her hats to make her pom poms detachable so that she can wash her hats. And, now, I also do the same thing! Information technology'due south so uncomplicated and makes washing so much easier.

Step 1:
Sew a button in the center of the top of the lid on the inside.
Step two:
Attach waste yarn to your pom pom. I similar to put it through where the pom pom is sewn closed with at least .5 of an inch in the center of the waste yarn. I used a different type of yarn than my hat because it's easier to encounter where the pom pom yarn is vs, the hat yarn.

Stride three:
Push both sides of the waste yarn through the superlative of the RS of the lid, and then wrap the yarn snugly, many times, around the button on the WS of the chapeau.
IF YOU LIKED THIS tutorial, Delight Support ME ON PATREON OR BUY ME A COFFEE!

BUY ME A COFFEE
![]()
Back up me on Patreon

Pin to Pinterest
Source: https://www.ravinsdesigns.com/home/diy-faux-fur-pom
0 Response to "How To Make Faux Fur Pom Pom"
Post a Comment